


If you are on any social media, whether Facebook, Instagram, or TikTok (for now), you may have seen the bandwagon that everyone seems to be hopping on—sourdough. There seems to be interest in turning flour into a beautiful loaf of bread, but why? Why are people interested in the weeks to months-long process of making bread when you can run to the store? And if you are anything like us, you may ask, where do I start?
Making sourdough is quite an activity, but it can be fun when you do it correctly. I mean, who wouldn’t want to grow and ferment their own bacteria and yeast in a jar and turn it into delicious bread? Follow these steps, and you can have yummy sourdough at home.
Though sourdough is a complicated process, all you need to start is unbleached bread flour, water, a jar, and a spatula to mix. Optionally, you could use a food scale, which can be helpful along the way. These supplies and ingredients are all you need for your starter, which is what we first did. Starter, in simple terms, is an even mixture of unbleached bread flour and water, which becomes alive over time and creates wild yeasts and bacteria. This sounds gross, so if you are anything like us, just don’t think about it too much. For the few who like chemistry, the yeast and bacteria turn the simple sugars in the flour into other organic substances, making it grow when active. Ethanol and acids give sourdough its unique and sour taste.
For sourdough, you have two options—first, you can find a friend who is loving enough to share their starter with you. This way, your starter is already active, and all you have to do is continue feeding it until you want to make your sourdough. Option two is to start from scratch, which is where we began to get the full effect of the sourdough-making process.
How do you make a sourdough starter?
This is a straightforward process. After looking at recipes, we decided on this one—
120 grams of unbleached King Arthur’s bread flour
120 grams of room-temperature water
According to Lynn Patton, the cooking teacher at Lakewood High School, there are very specific steps you need to follow when you get a recipe, especially a very strategic one like this one.
“To handle complicated recipes, I begin by reading the recipe carefully before starting,” Patton said. “I gather all the necessary ingredients in advance and equipment, prepare and measure ingredients in advance, and review the recipe throughout the cooking process to stay on track.”
Though the starter requires few ingredients, we took this advice throughout the whole journey, including making the actual bread and discarding recipes.
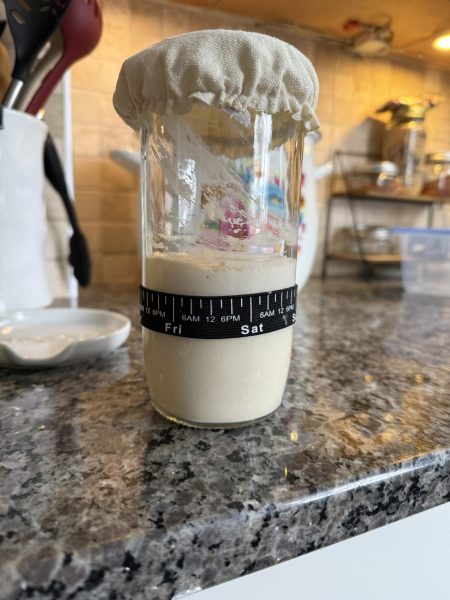
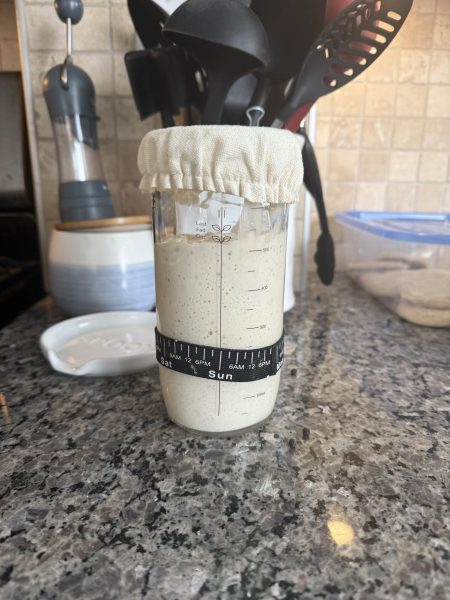
There are many different ways to make a starter, and if you don’t have a food scale, some recipes using cup measurements work just as well. After mixing the flour and water, store it in a container or jar (we used a mason jar). Mark where your sourdough ends with a rubber band, put a cloth over it, and tie it on. Do not put an air-tight lid on. For day one, just store it on your counter, microwave, or oven. Do not put it in the fridge; you may see some people do that, but you can only do that when your starter is active. Starter thrives better in a warm environment, so it would be best to leave it in a warmer area of your kitchen.
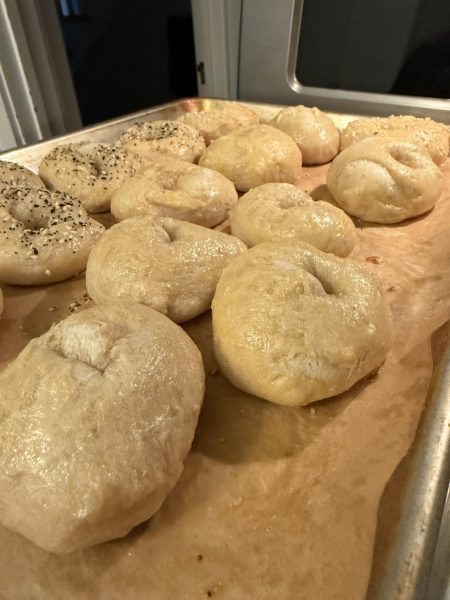
Every day after this, you will do the same thing. Add an even amount of water and unbleached bread flour. So your sourdough doesn’t become a monster, you will need to discard around half of it. This may seem like a waste, but once your sourdough starter is active, you can use your discard for recipes like muffins, cookies, bagels, sandwich bread, and so much more.
For example, on day 2 of our starter, we had a total of 177 grams of starter. In this case, we could’ve added 177 grams of bread flour and 177 grams of water, but as I said before, it would’ve created a monster, and we would’ve had too much starter. Instead, we discarded 77 grams of the starter (which, sadly, we couldn’t keep since the starter wasn’t active). We then added 100 grams of room-temperature water and 100 grams of unbleached bread flour to the 100 grams of starter already in the jar.
This process continued every day, usually leaving 100 grams of starter, adding the 200 grams of unbleached bread flour and water combined, and storing it on our counter.
The downside to making your sourdough starter is the time it takes. Your starter will likely be alive within 7-14 days in warmer conditions. Since it is colder outside, making the inside of our houses colder, sourdough starter can take longer to activate. Our sourdough starter activated after 3 weeks and 1 day. This may not seem very long, but we grew very impatient around day 4, especially since it is common for your starter to grow on day 1 or 2 and then stop growing after that.
As our sourdough starter failed to grow, our concerns did the opposite. Sourdough starters can die if not fed every day or kept in a climate that is too cold or warm. The way you can tell is a color change (could be pink, blue, green, or orange), and a bad odor coming from it. We asked Alex Mohar, who had her sourdough for almost a year. She gave us a tip that sped the process for us immediately. During the colder seasons, store your starter in the microwave or oven when they aren’t being used. The first night we tried this, our starter grew! You know your starter is active when it doubles in size for 3 days. Your starter may grow a little, but it is not active unless it doubles in size continuously.
After 3 weeks of feeding our starter, it was finally active. It is now time for baking, which is what you may be thinking, but that is far from the truth. Clear your schedule and cancel your arm workout for the week, as this is a lot of sitting around and waiting, as well as kneading dough.
We started around 5:00 pm and found a recipe that worked for us. We added 375 grams of water, 50 grams of active starter, 500 grams of King Arthur’s unbleached bread flour, and 10 grams of salt. We then mixed and covered the bowl with a wet kitchen towel. The towel keeps it from drying out.
After sitting and waiting for an hour, it is time to start stretching and folding (which may sound like a relaxing yoga pose but is actually a vigorous arm workout). First, stretch the dough upward, and fold over itself. Turn the bowl one-quarter and do another stretch and fold. After your third or fourth fold, your dough will start to tighten; this is the gluten strengthening. After stretching and folding, you will cover your dough for a 30-minute nap. You will do your stretch and fold a total of 4 times, 30 minutes between each stretch.
After your stretch and folds, you will notice your sourdough is a lot smoother. It is now time for proofing. Keep your dough covered and let it sit for around 4-8 hours at room temperature. We put our sourdough in the oven (while it wasn’t on) and placed a sign on the stove to let others know the dough was in there, and not to turn on the oven without taking it out, and went to bed.
After a night of slumber (8-12 hours), we woke up our dough. You may think that all the waiting is over, but you are wrong.
Take the dough out of the bowl on a lightly floured surface to ensure it doesn’t stick. Shape dough into a ball and place into a floured tea towel-covered bannaton, or in English, a proofing basket. Cover this and store it in the fridge for 4-6 more hours!
After all of this, our dough is finally proofed! The dough should’ve grown and created a dome with some bubbles. To make sure, we performed the poke test. To do the poke test, all you need is your finger. Poke the bread, and it is proofed if it rises back at you. It is possible to over-proof your sourdough, so don’t forget it in the fridge! A sign of over-proofed sourdough is if it concaves in on itself.
It is finally time to bake! In this process, you will need a Dutch oven, and some knife or blade. Take your Dutch oven and place it in your oven. Preheat your oven to 500 Degrees Fahrenheit. Take your dough out of the fridge while your oven is preheating. Take your dough and place it on parchment paper. Next, you will take your dough and your knife or blade and slice a line across the side of your dough. This process is called scoring and helps your bread rise. There are many ways to do it and designs you can try but we just went for the straight line across the side.
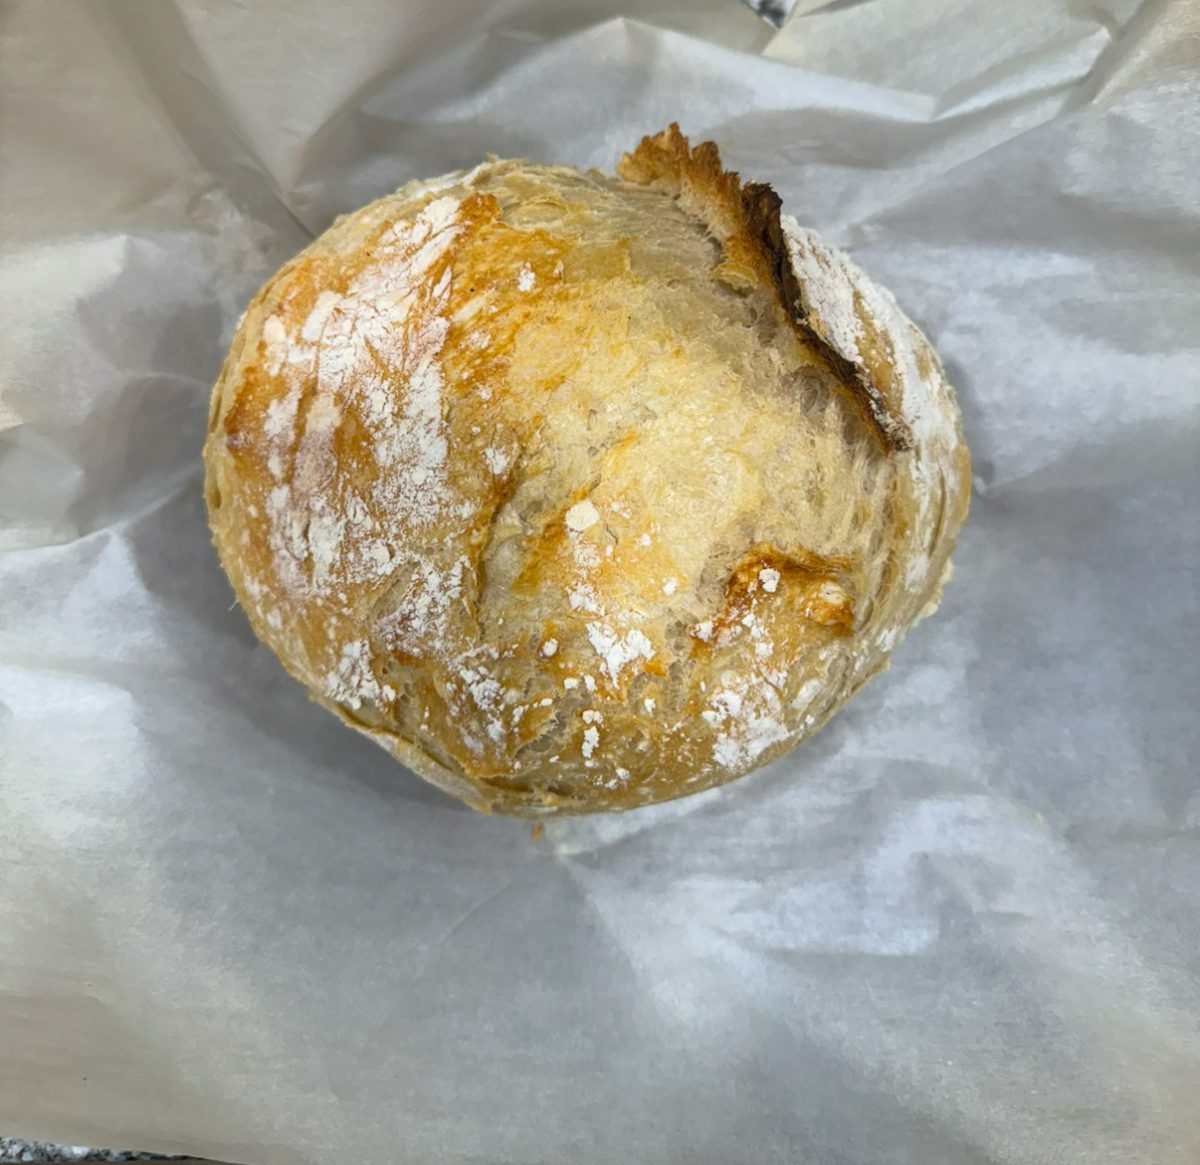
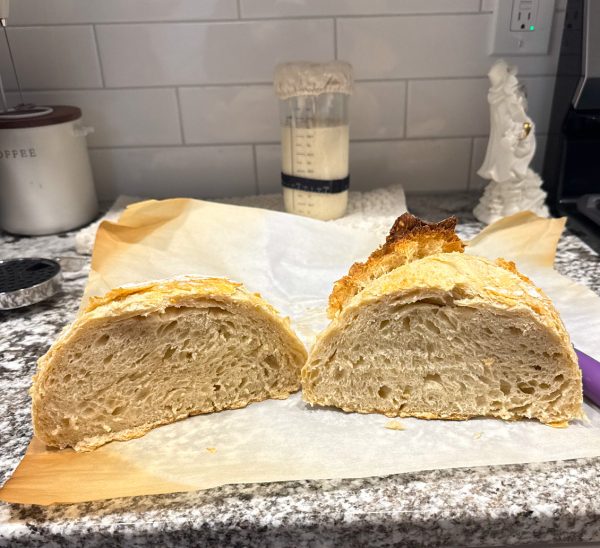
Once the oven and dough are ready, place the dough, while still on parchment paper, in a Dutch oven and place in the oven. Turn the oven down to 475 degrees after putting the dough in the oven, and cook for 25 minutes. I know how tempting it is to peak, as we had to hold ourselves back! After 25 minutes, take the lid off and let it cook for another 15 minutes. After all of this, you finally have sourdough!
We wanted to share our creation with family and friends the moment we cut into it.
“Being a witness through their process and being able to finally taste the final product, it was better than anything you can get from the store knowing that the girls made it with love and determination,” Natalie Bruening, Teddie’s mother, said.
It may have taken us about 4 weeks, but we finally did it, why go through all of this for a delicious piece of bread?
The art of sourdough is not only a fun process to create, but it has several benefits for your health. It follows the process of fermentation, which boosts flavor and digestion. Compared to regular white bread, sourdough is much easier for your body to break down and digest due to the production of an enzyme called phytase. This makes carbohydrates and proteins easier to break down and can even lead to a stronger, healthier digestive system. Although this may seem too complex or overwhelming, with only 2 simple ingredients for a starter–water and flour, anyone and everyone can try it at home.
It is gut-healthy and contains a large variety of vitamins and nutrients that your body needs to take in. It ranges from iron, magnesium, phosphorus, calcium, vitamin E, and several more (you get the point so I won’t bore you and name the 10 others).
“So many foods are filled with added, unnecessary, dangerous ingredients these days and the same goes for bread,” Mohar said. “The closer we are to the source of our food the better it is for us. If I have the ability to make homemade loaves of bread, as well as tons of other grain-centered foods from my sourdough starter in my own kitchen–why would I not?”
This is absolutely true because, typically, bread that you would buy from the store, more often than not, has preservatives to maintain better shelf life. Thickeners, artificial colors, and high-fructose corn syrup are just a few of the ingredients you may find in store-bought bread that you most definitely won’t find in your homemade bread.
“Making my own food allows me to choose healthier options, save money, and enjoy the satisfaction of creating something myself,” Patton said, continuing the recurring theme of sourdough’s healthier nature, of helping save money and gaining valuable experiences. We had our ups and downs, but overall, once the end product came together, it was a great mix of satisfaction and excitement.
Next time you are bored and don’t want to keep scrolling on social media, go to your kitchen and make sourdough! You probably have water, flour, and a jar at home, so join the process and try it out. If it all works out accordingly and you properly store and feed it, you can use the same starter indefinitely.