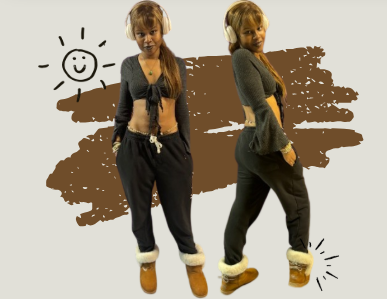


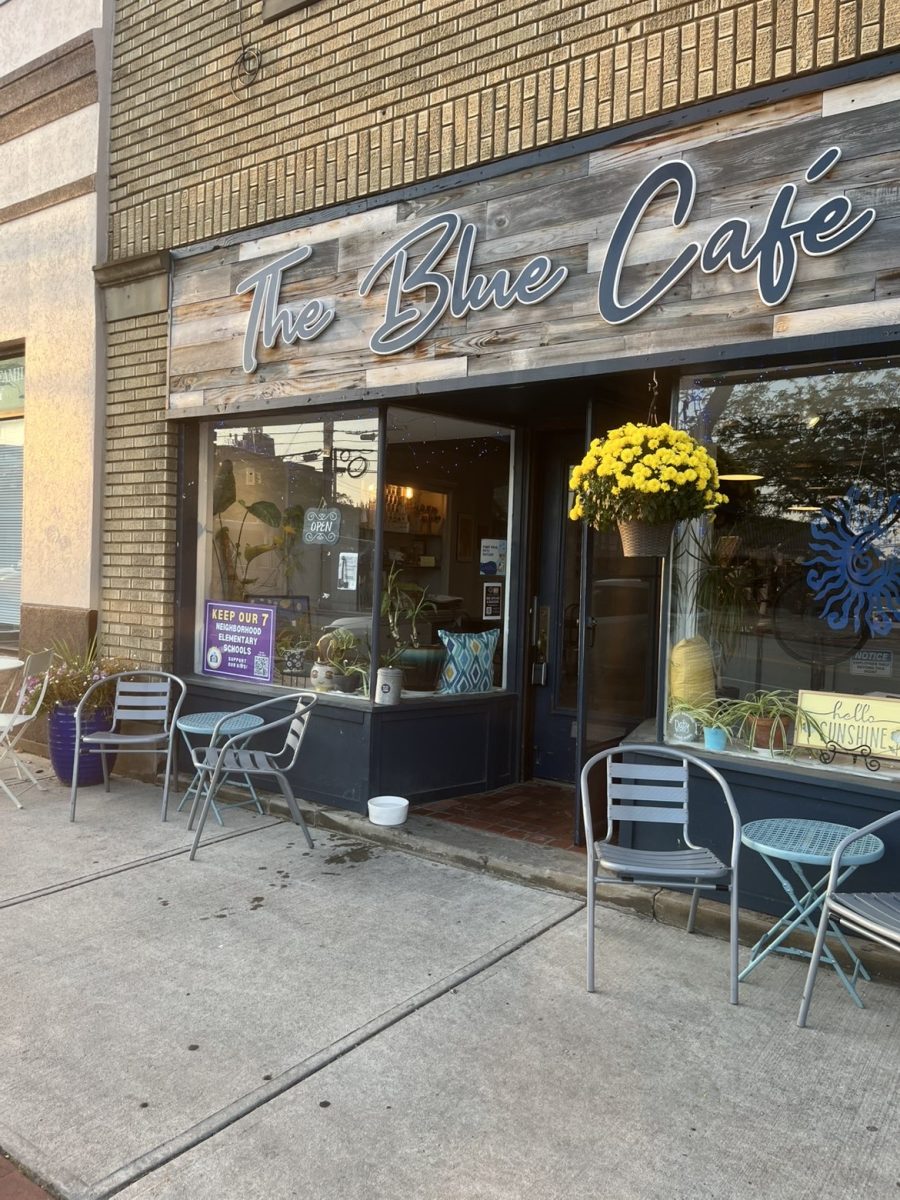


The Alex Style
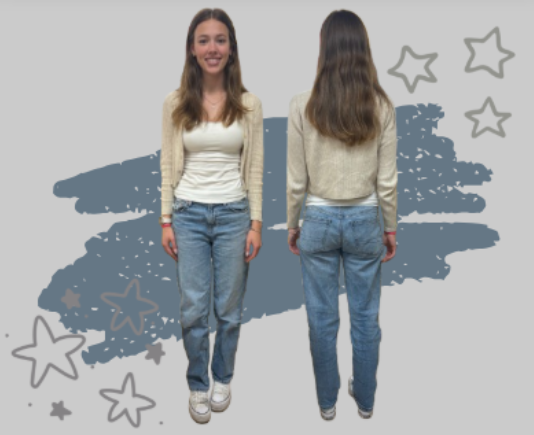
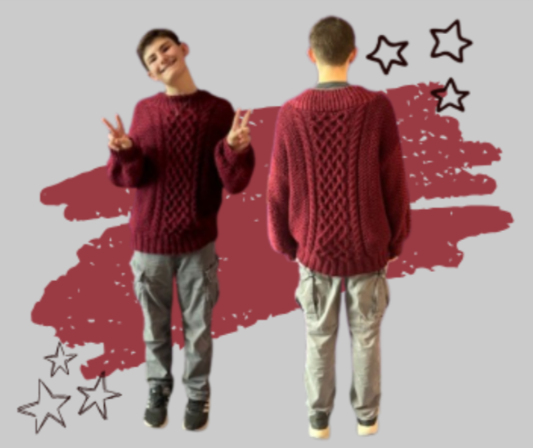
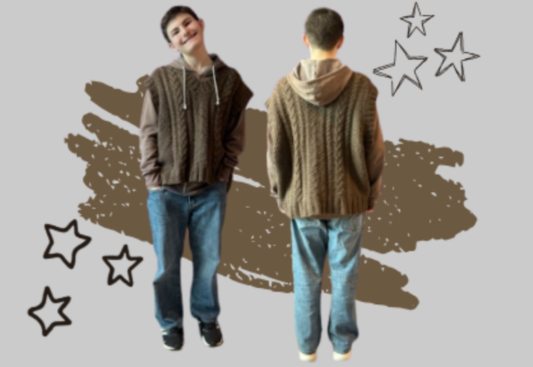
The thrifty and creative fashion influencer featured in today’s article is sophomore Alex Watts. Alex and I have worked together in both “Sweeney Todd” and “Les Misérables” through the school’s musicals, and he’s one of my closest theatre friends. Once I discovered that he had knitted his own sweaters multiple times, I knew I had to interview him. Alex describes his personal style as “a spectrum,” noting that it can shift from grandma-core to downtown aesthetics very quickly. Personally, I appreciate the grandma-core style, so I hope he feels no shame in embracing it. Despite his style fluctuations, Alex claims his wardrobe remains “cohesive through color.” He adds, “I feel like I have a color palette because I’m always wearing dark red, dark brown, blues, and greens.”
Alex said that most of his clothing is thrifted or handed down from his dad. We always appreciate a thrifty person on this blog. “I usually shop at Savers on half-off Mondays because you get the best deals,” Alex noted, adding that he enjoys finding travel t-shirts while thrifting due to their interesting graphic prints. “Usually, I just buy them because I like the design. But sometimes, if I see one from a place I’ve been, I’ll think, ‘Oh, I have to get that.’”
Alex’s wardrobe staple is primarily pants. “I don’t have as many pants in my rotation as I do shirts,” he said. His favorite black cargo pants, which he wears at least once a week, are a prominent part of his collection, along with a few pairs of jeans he can’t live without. Often, he accessorizes with a matching star necklace and star earrings gifted by his friend Holly. He also wears a designated ring stack daily, most of which he received for his recent birthday. Although he prefers silver jewelry, much of it has tarnished, leading him to embrace a red, copper-like aesthetic.
Alex’s Sweater-Making Process
Alex’s first step is to find a knitting pattern, which he selects from a book and adjusts to fit his body type. Next, he buys yarn, usually from Michaels. Once he has the yarn, he uses his needles to begin crafting garments. “Usually, I make adjustments to the sleeve length because most knitting patterns are designed for women, so I have to modify them to fit my size and preferred length,” Alex said. In the summer, it can take him up to two weeks to knit a sweater, but during the school year, balancing homework and musicals can stretch that time to nearly a month. So far, Alex estimates he has made about 10 sweaters—mostly for himself but also for friends, his sisters, and his mom. He enjoys giving his younger cousins sweaters to keep them in the family as he outgrows them. “I don’t know; sometimes it can feel like magic,” Alex said. “You just make something out of a ball of yarn and needles, and all of a sudden, you have a sweater.”
The Thrift-Flipping and Upcycling Style

As an amateur seamstress, thrift-flipper, and fashion blogger, my primary inspiration for discussing thrift-flipping and DIY clothing comes from Instagram and TikTok user Elisabeth Simo (@elisabethsimo_ on Instagram and @elisabethess on TikTok). She inspires me as I strive to transform thrifted items into something new. Elisabeth has two compelling series that I want to highlight: the first is titled “Turning Clothes I Never Wear into Clothes I Love,” and the second is “Upcycling Thrifted Clothes into My New Favorite Pieces.” Both series creatively revamp old or secondhand garments into fresh creations—whether it’s transforming a large shirt into a backless dress, converting jeans into a mini dress, or reimagining a blazer and skirt set as a prom dress. Her work is always innovative and engaging, and I highly recommend checking out at least one of her series.
Let’s clarify the difference between thrift-flipping and upcycling. Thrift-flipping involves transforming one or more pieces of clothing from a secondhand shop into an entirely new garment, while upcycling means taking an existing piece from your wardrobe and reimagining it.
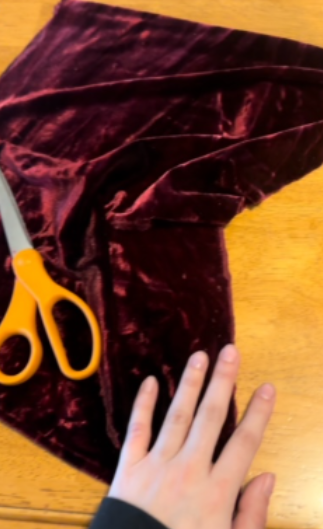
My recent thrift-flipping project involved transforming a dress I found at Value World in Detroit into the Y2K lace top of my dreams. When I spotted the burgundy dress, I immediately fell in love. Although I considered keeping it as is, the numerous holes in the fabric, likely caused by moth damage, discouraged me. One of my favorite features of the dress is the three-quarter-length bell sleeves. They provide the perfect amount of character that I seek in long-sleeve tops, making them an ideal addition to my wardrobe.
The Process of Making a Shirt Out of a Dress
Before starting any sewing project, it is essential to wash the fabric you will be using. This helps prevent shrinkage after the project is complete, removes excess dyes and chemicals that may remain on the fabric, and ensures a more stable material for sewing. Once cleaned, you are ready to begin cutting your pieces.
Cutting fabric is easy when you have the right tools, such as sewing scissors. Instead of investing in a $30 pair, consider visiting a dollar store to pick up a new pair of scissors specifically for fabric. Using sewing scissors to cut paper dulls the blade, which can prevent clean, straight cuts when working with fabric. While cutting paper with sewing scissors may not show immediate consequences, it’s best not to make it a habit. If the dollar-store scissors struggle to cut fabric effectively, invest in a smaller, more affordable pair from your local craft store. Once you have designated sewing scissors, you’re ready to begin!
To convert the dress into a shirt, I needed to cut off the bottom of the dress. Navigating around moth-eaten holes was challenging, leading me to cut the dress into multiple sections, with one entire chunk being unusable due to the damage. After removing the flawed sections, it was time to start sewing.
The first thing I sewed was the new hem of the dress. I folded over the raw edges, reducing the likelihood of the fabric fraying. When hemming, it’s essential to use about half an inch more fabric than you typically need to ensure you have enough to fold over and still achieve the desired length. Once the edge is folded, you can sew it in place. Most clothing items feature hemmed edges, a common practice that helps maintain their integrity over time. Without hemming, the fabric is more prone to fraying and eventual unraveling. Once I finished hemming the edges, I could continue sewing the rest of the dress. Because I had only cut off the bottom half and retained the main shirt portion, I created less work for myself.
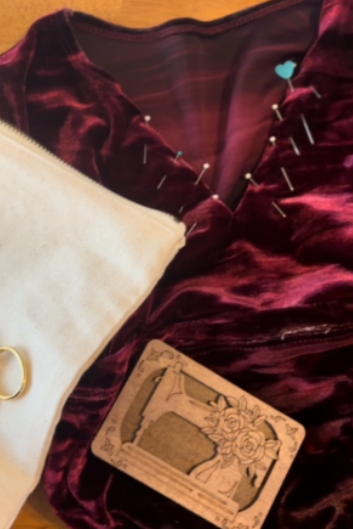
The next thing you want to do is attach the hemmed edges. Specifically, you will attach the bottom portion of the dress or shirt that you cut off to the top portion. To do this, turn both sections inside out and pin the edges together in a circular fashion. Once everything is pinned, remove the bottom of your sewing machine (if possible) to allow for circular sewing. Most sewing machines have an attachment or a removable piece that enables this, which you often see used for hemming pant cuffs. Sewing in a circle saves time compared to cutting the fabric open and sewing it back together. Once you complete this step, the rest will be smooth sailing!
Attaching the lace was definitely the easiest part. I changed the thread on my sewing machine from a burgundy and light pink combination to a color that better matched the lace. I simply pinned the lace in place and sewed it along the V-neck and the seam where the two halves of the shirt joined, ensuring to hide the seam. Once I finished working on the shirt, I rewashed it to test its stability and the strength of the seams. If it can survive the wash, then, by my standards, it’s ready to wear; if not, I’ll make the necessary adjustments and reinforce the seams.